Say Cheese! How to Photograph Your Quilts Like a Pro!
Share
So, you’ve finished a quilt—congratulations! Now, it’s time to photograph it. Whether you’re sharing on social media, entering a quilt show, or just documenting your work, great quilt photography makes all the difference. But let’s be real—getting that perfect shot can be a struggle. Wrinkles, bad lighting, and wonky angles? Been there, done that. Fear not! With a few simple tricks, you can capture stunning quilt photos without pulling your hair out.
Step 1: Find the Right Lighting
Good lighting is the secret sauce of great quilt photography. Here’s what works best:
-
Natural Light is Your Friend – Shoot near a window or outside on a cloudy day to avoid harsh shadows and yellowish indoor lighting.
-
No Direct Sunlight – Bright sun creates strong shadows and glare. Overcast days or shade work better.
-
Even Lighting is Key – If indoors, try using daylight bulbs to mimic natural light.
Pro Tip: If you must use artificial light, position lamps on both sides of the quilt to reduce shadows.
Step 2: Lay It Flat or Hang It Up
How you display the quilt affects the final shot. Here are some easy ways to set up:
-
Lay it on a clean floor – Works well for smaller quilts. Stand on a chair to get a bird’s-eye view.
-
Hang it up – Use a design wall, curtain rod, or even binder clips on a clothesline.
-
Drape it artistically – Over a chair, bed, or fence for a cozy, lifestyle vibe.
Pro Tip: If the quilt looks wavy or saggy, use painter’s tape or sticky tack to smooth it out.
Step 3: Mind Your Angles
-
Shoot straight on – A direct, head-on shot keeps everything proportional.
-
Avoid extreme angles – Shooting from too high or low can distort the quilt’s shape.
-
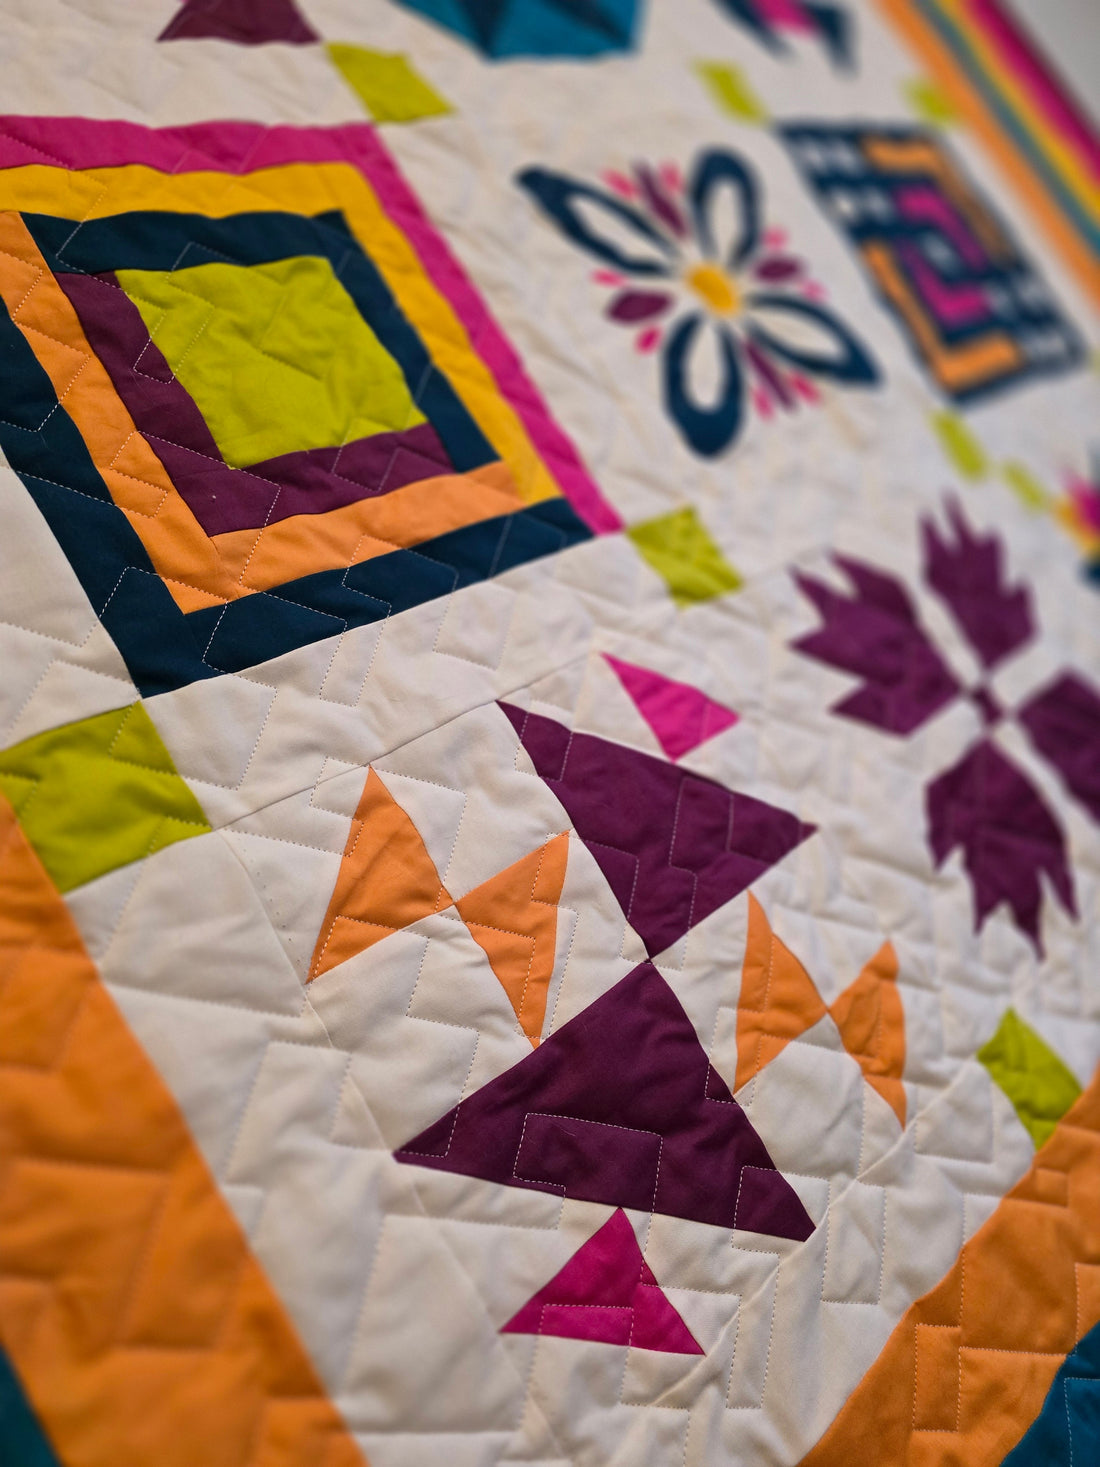
Try close-ups – Capture details like quilting stitches, fabric textures, and bindings.
Pro Tip: If you notice distortion, step back and zoom in slightly instead of tilting your camera.
Step 4: Edit Like a Pro (Without Overdoing It)
You don’t need fancy software—your phone’s editing tools work just fine.
-
Crop out distractions – No one needs to see your laundry pile in the background.
-
Adjust brightness and contrast – Make the colors pop without looking unnatural.
-
Straighten the image – Many apps (like Snapseed or Lightroom Mobile) have easy straighten tools.
Pro Tip: Avoid heavy filters—your quilt should look like it does in real life!
Step 5: Show Off Your Work!
Once you have a great shot, it’s time to share it!
-
Post it on Instagram, Facebook, or Pinterest to connect with other quilters.
-
Add it to your blog or portfolio if you sell or showcase your work.
-
Print a photo for your quilting journal—you’ll thank yourself later!
Pro Tip: Use a consistent style for your photos so your quilts have a signature “look.”
Final Thoughts
Quilt photography doesn’t have to be stressful. With good lighting, a clean setup, and a few editing tweaks, you can take photos that truly show off your beautiful work. Now go forth and snap some quilt magic!
What’s your biggest quilt photography struggle? Let’s chat in the comments!
Happy Sewing
Jody